
Make A Pretty Desktop Organizer
I posted my new desktop organizer on Instagram this morning, and you guys were so sweet about it that I decided to write up how I made it in a post! First off, I definitely did not invent this idea! I was inspired by A Teeny Tiny Teacher and tons of others! But if you liked the specific look of mine, here are a few tips:
1. Find the resolution of your screen. If you have a 13" Macbook like me, it'll be 1280 x 800. Otherwise, go to System Preferences > Displays > Resolution: Scaled, and hover over the computer image to find out your resolution. If you don't have a mac, you're on your own :)

2. Open up Keynote (or Powerpoint) and make your document the same as your resolution. This will keep your background at the right proportions later instead of having to stretch it out to fit.
3. Find a cute desktop background you like! If you're a TpT seller, you probably have tons of digital papers lying around. If not, or if you're looking for something different, I suggest downloading wallpaper from DesignLoveFest's Dress Your Tech. They're free and so pretty! I looked for something not-too-busy so my desktop wouldn't look too crowded.
4. Insert your wallpaper into your Keynote document. You might need to stretch it a teeny bit to fit your document size.
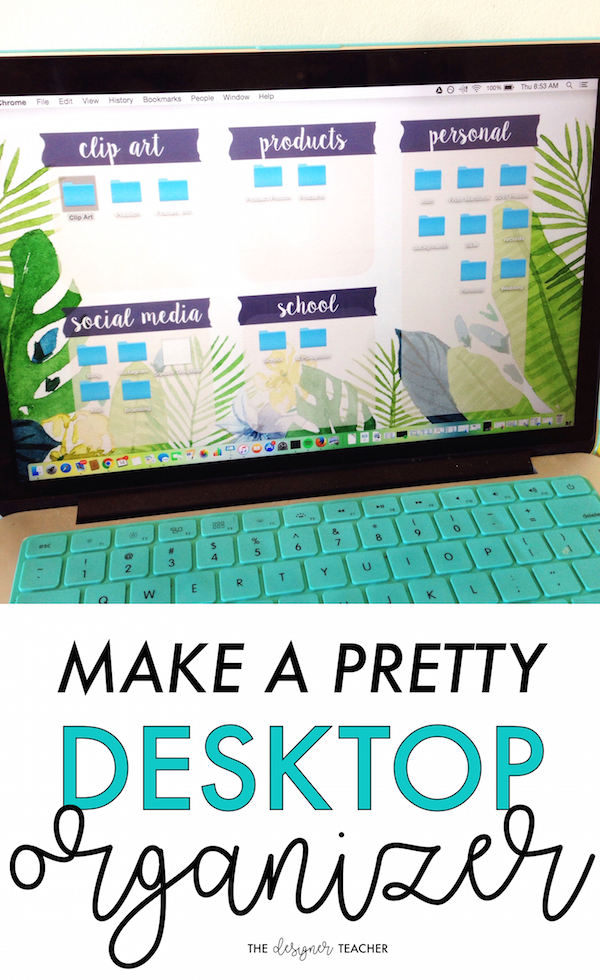
5. Make your organization boxes. I used the rounded square shape and made four 280 x 280 boxes, and one larger 280 x 630 rectangle. Your measurement's will be different on a different computer, so play around and see what you like. I suggest leaving a good bit of space at the top and bottom, as this is where your dock and toolbar will be (on a mac, at least). Pick a color that complements your desktop background for your boxes. I decided to make mine blush pink and make that a little bit transparent so you could still see the wallpaper.

6. Make labels for your sections. I used gray washi tape from this Instruct & Inspire Kit, and I love how it turned out! You could also use ribbon or banner clip art, or just make your own using rectangles. Label whatever you choose with a cute font! I used Sugar Plum. I went with Clip Art, Social Media, Products, School, and Personal for my categories, but use whatever makes sense for you.

7. Go to File > Export To > Images, and save your image as a high quality .jpeg.
8. Right click your new image (which will be wherever you saved it to), and Ctrl-click to see your option. Click Set Desktop Picture. Because you created your file to the exact size of your screen, you should be good to go! If something doesn't look right, you can always go to System Preferences > Desktop & Screensaver and click Fit to Screen, which should do the trick!

I'd love to see your finished product if you try it out! Leave me a link or tag me on Instagram @thedesignerteacher!