
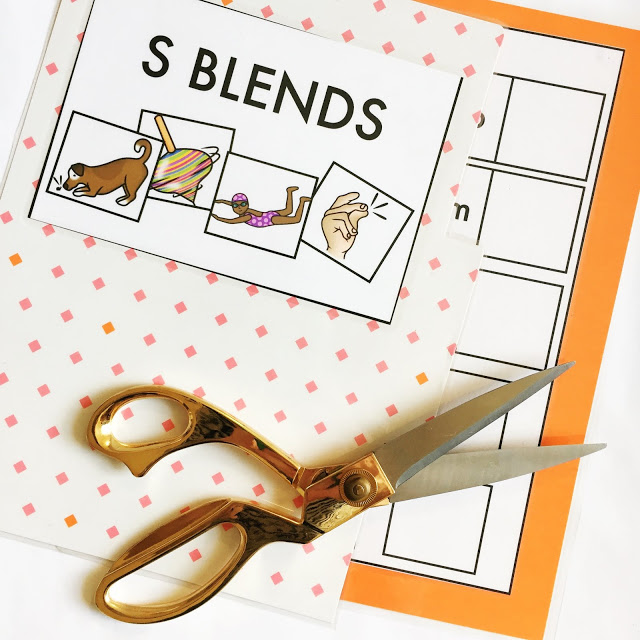
Laminate File Folder Tasks With a 9.5 Inch Laminator
I love file folder tasks-- they're compact, easy-to-store, engaging, and infinitely reusable. But if your school doesn't have a laminator and your personal laminator is only 9.5 inches, you might think there's no way for you to prep your file folder tasks. Well teacher-friends, there is a way, and I am here to show it to you.
This post contains affiliate links.
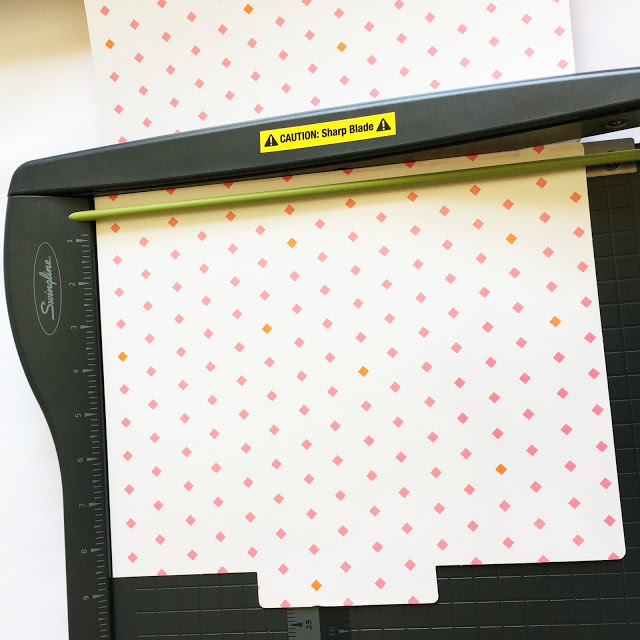
Step 1: Cut your file folder on the crease.
Step 2: Trim the pieces down to size. It depends on the exact size of your file folder (I often use the fun ones from the Target Dollar Spot), but I typically slice about an inch off in length, and half an inch in width (on each piece). You just need to make sure each half of your file folder will fit in a 9.5 x 11 in laminating pouch.
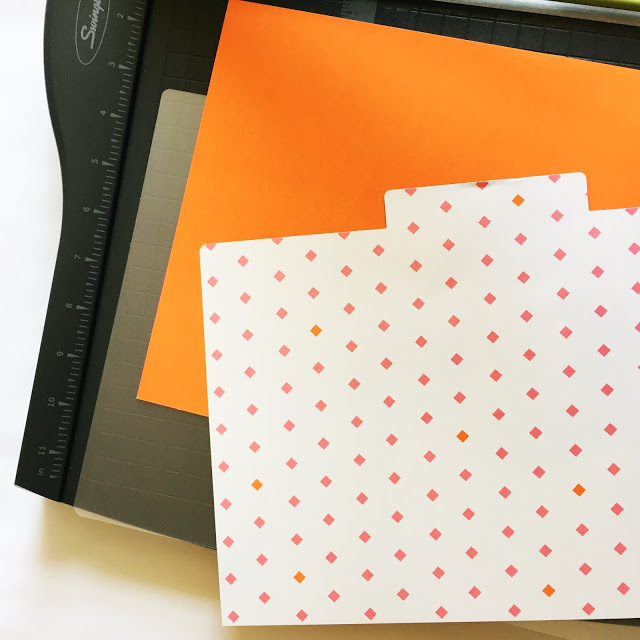
Step 3: Glue down the activity and laminate each half separately.
Step 4: Trim each half, leaving a small border around the edges to prevent peeling.
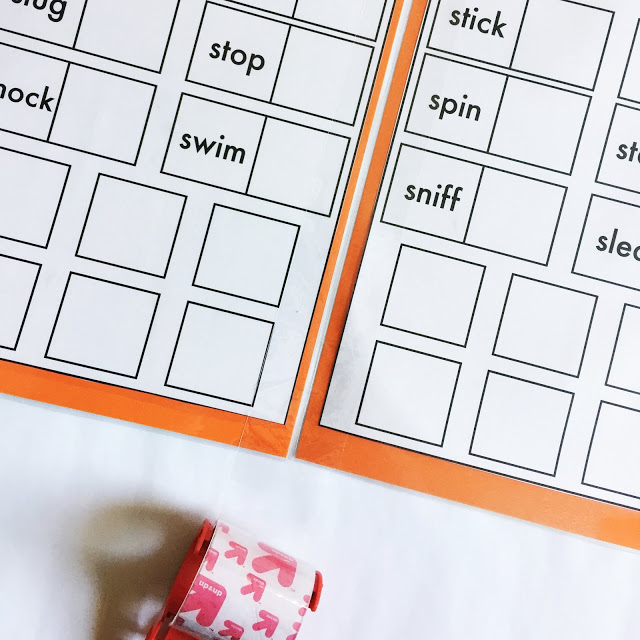
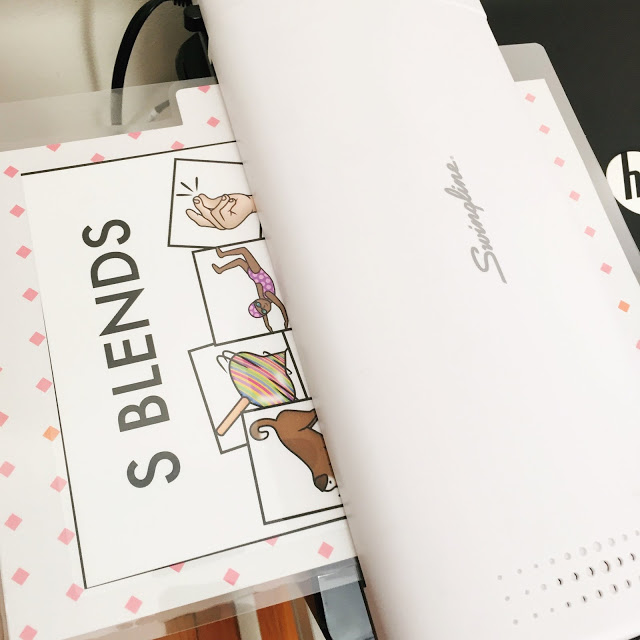
Step 5: Arrange your pieces on a flat surface as if the file folder was open. Use clear packing tape to attach the two pieces where the crease used to be. Run the tape vertically up the inside, then flip the folder over and run the same piece of tape vertically on the other side. It's tempting to get the edges as close as possible before taping-- you actually don't want to do this. You want to leave a millimeter or two of distance so your folder is able to close easily.
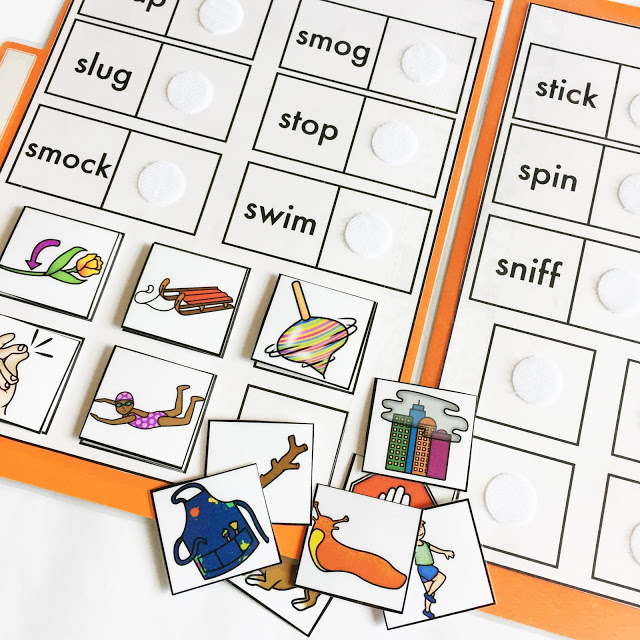
Step 6: Apply velcro to the folder and pieces as you usually would!
Of course, it's not going to be as quick as laminating the whole folder at once. But if you're not ready to invest in a larger laminator, this is a good trick to have up your sleeve!
If you're looking for phonics file folder tasks, check out my collection here!