
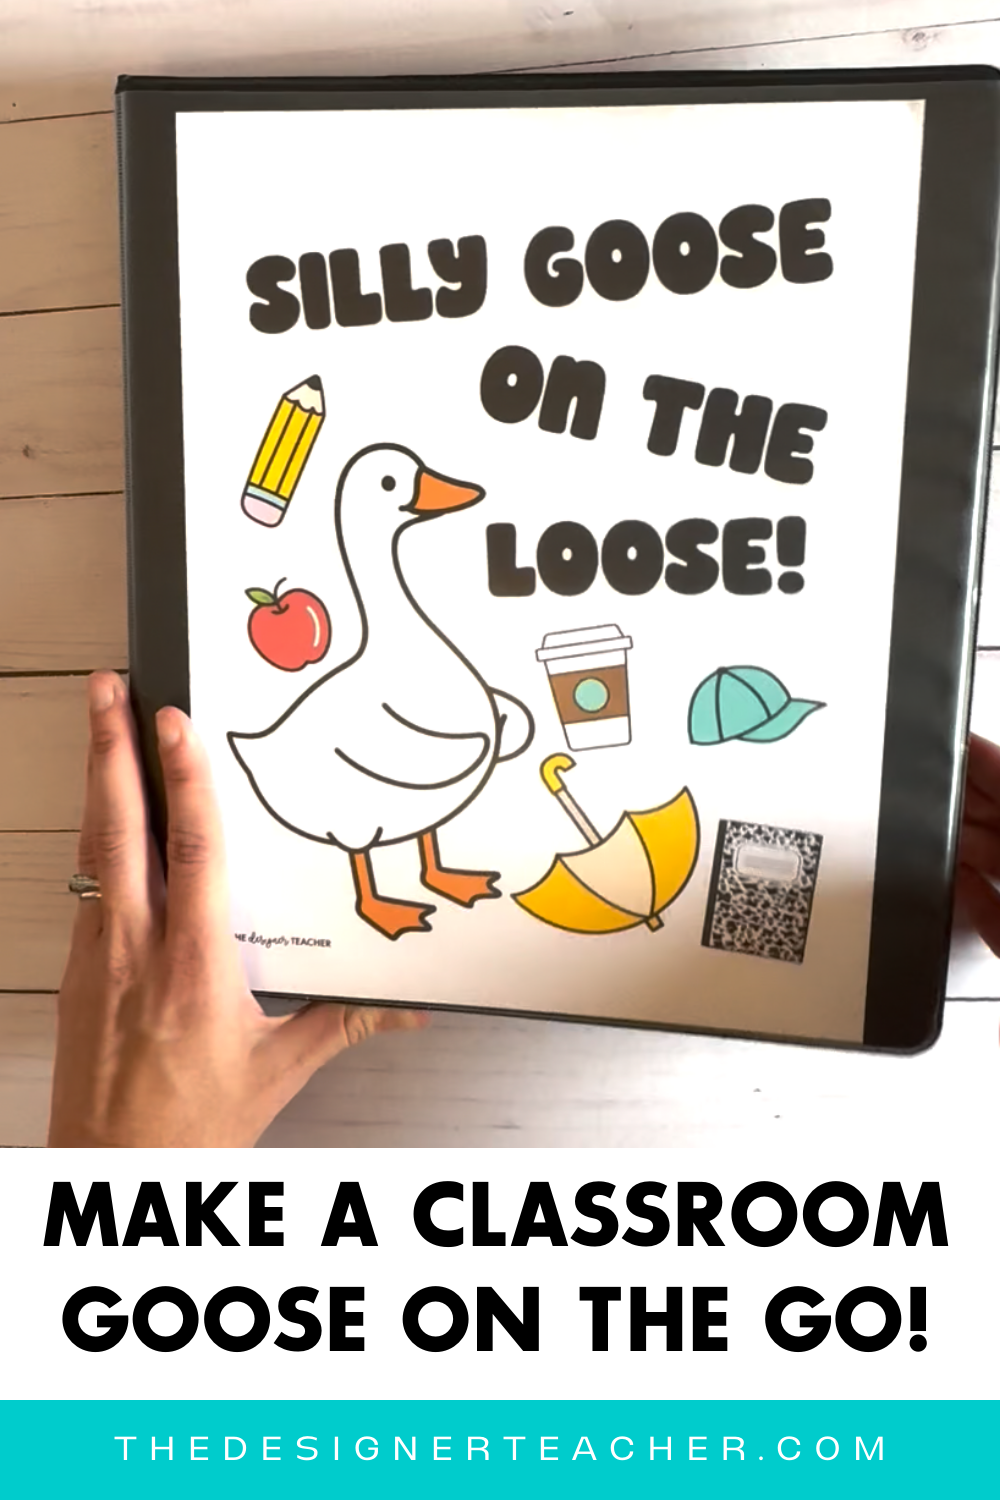
Make Your Own Classroom Goose on the Go
Are you a traveling teacher, SLP, or other clinician and want to get in on the classroom goose trend, but don’t have a classroom? Make this goose on the go!
Here’s how:
1. Print and laminate your goose and desired outfits in the smaller size.
2. Laminate and hole punch the full goose page (do not cut out goose).
3. Place goose page in binder.
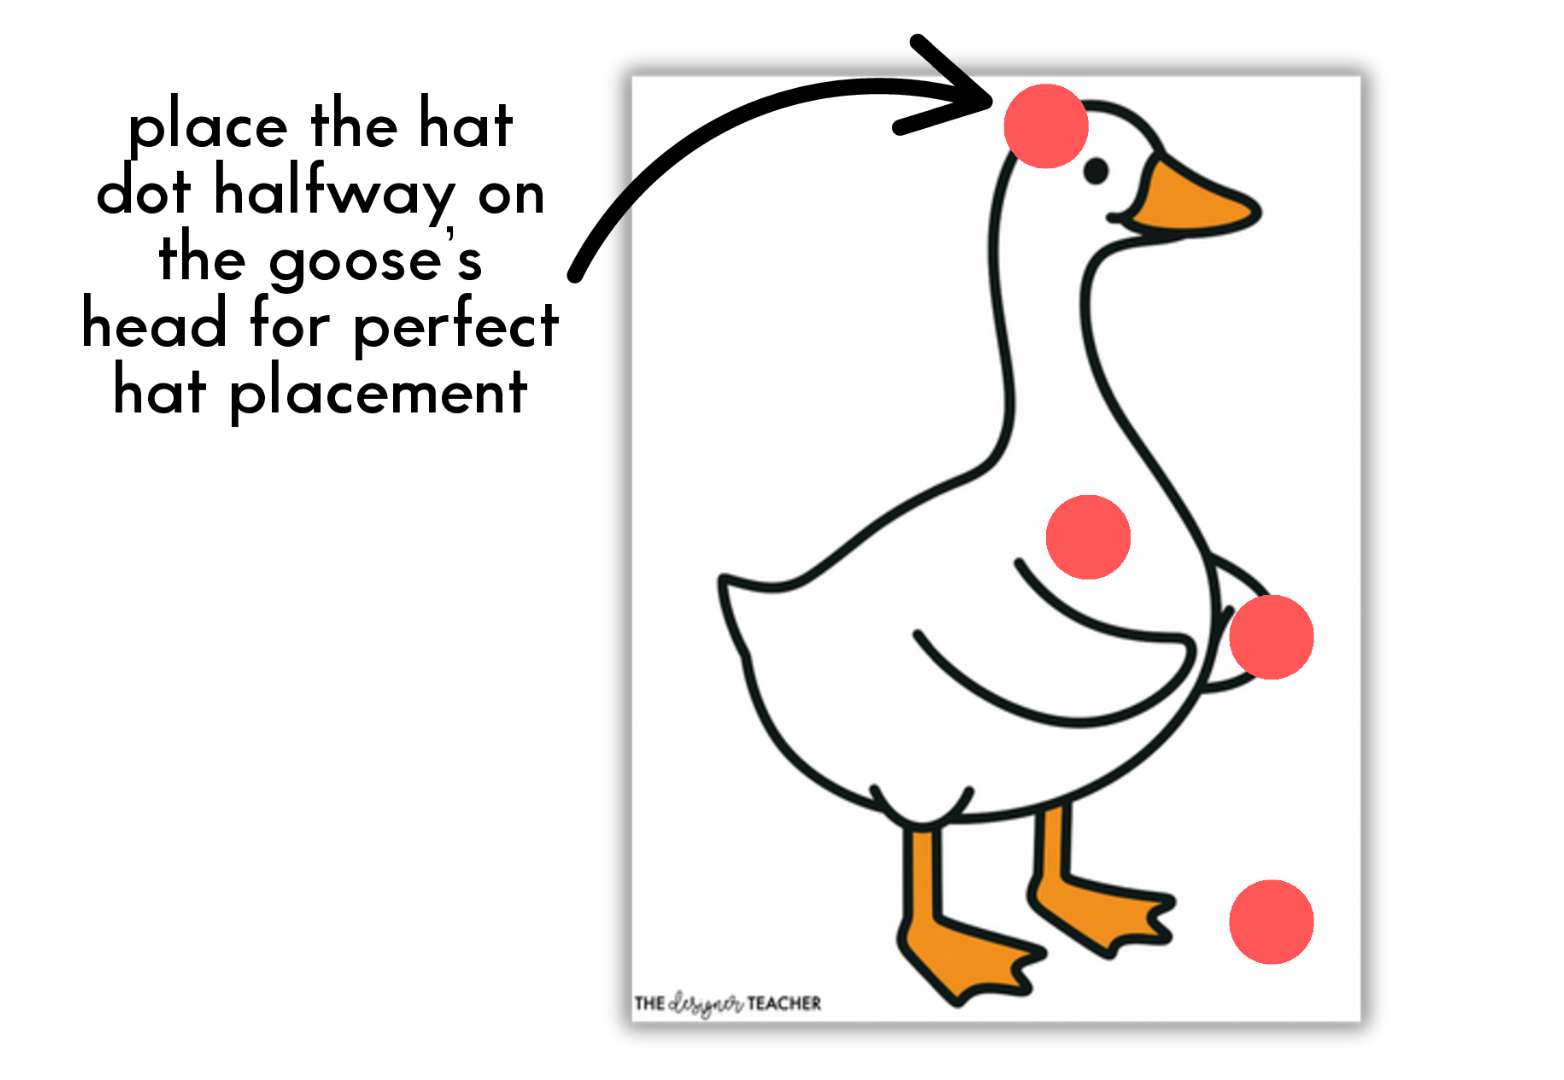
4. Place velcro dots on goose where you would place outfits and accessories, as shown.
5. Cut out outfits and accessories.
6. Add velcro dots to the back of the outfits and accessories. I highly recommend lining these up carefully to the dots on your goose. For example, if you are using the hook (rough) velcro on your goose, place a loop (soft) velcro dot on the body of the goose, sticker side up. Then, lower the outfit onto the velcro dot in the correct placement, and press firmly. Now, you have a perfectly aligned outfit. Repeat with your other outfits and accessories, using the dot where you would place them on the goose (i.e, hats on the goose’s head).
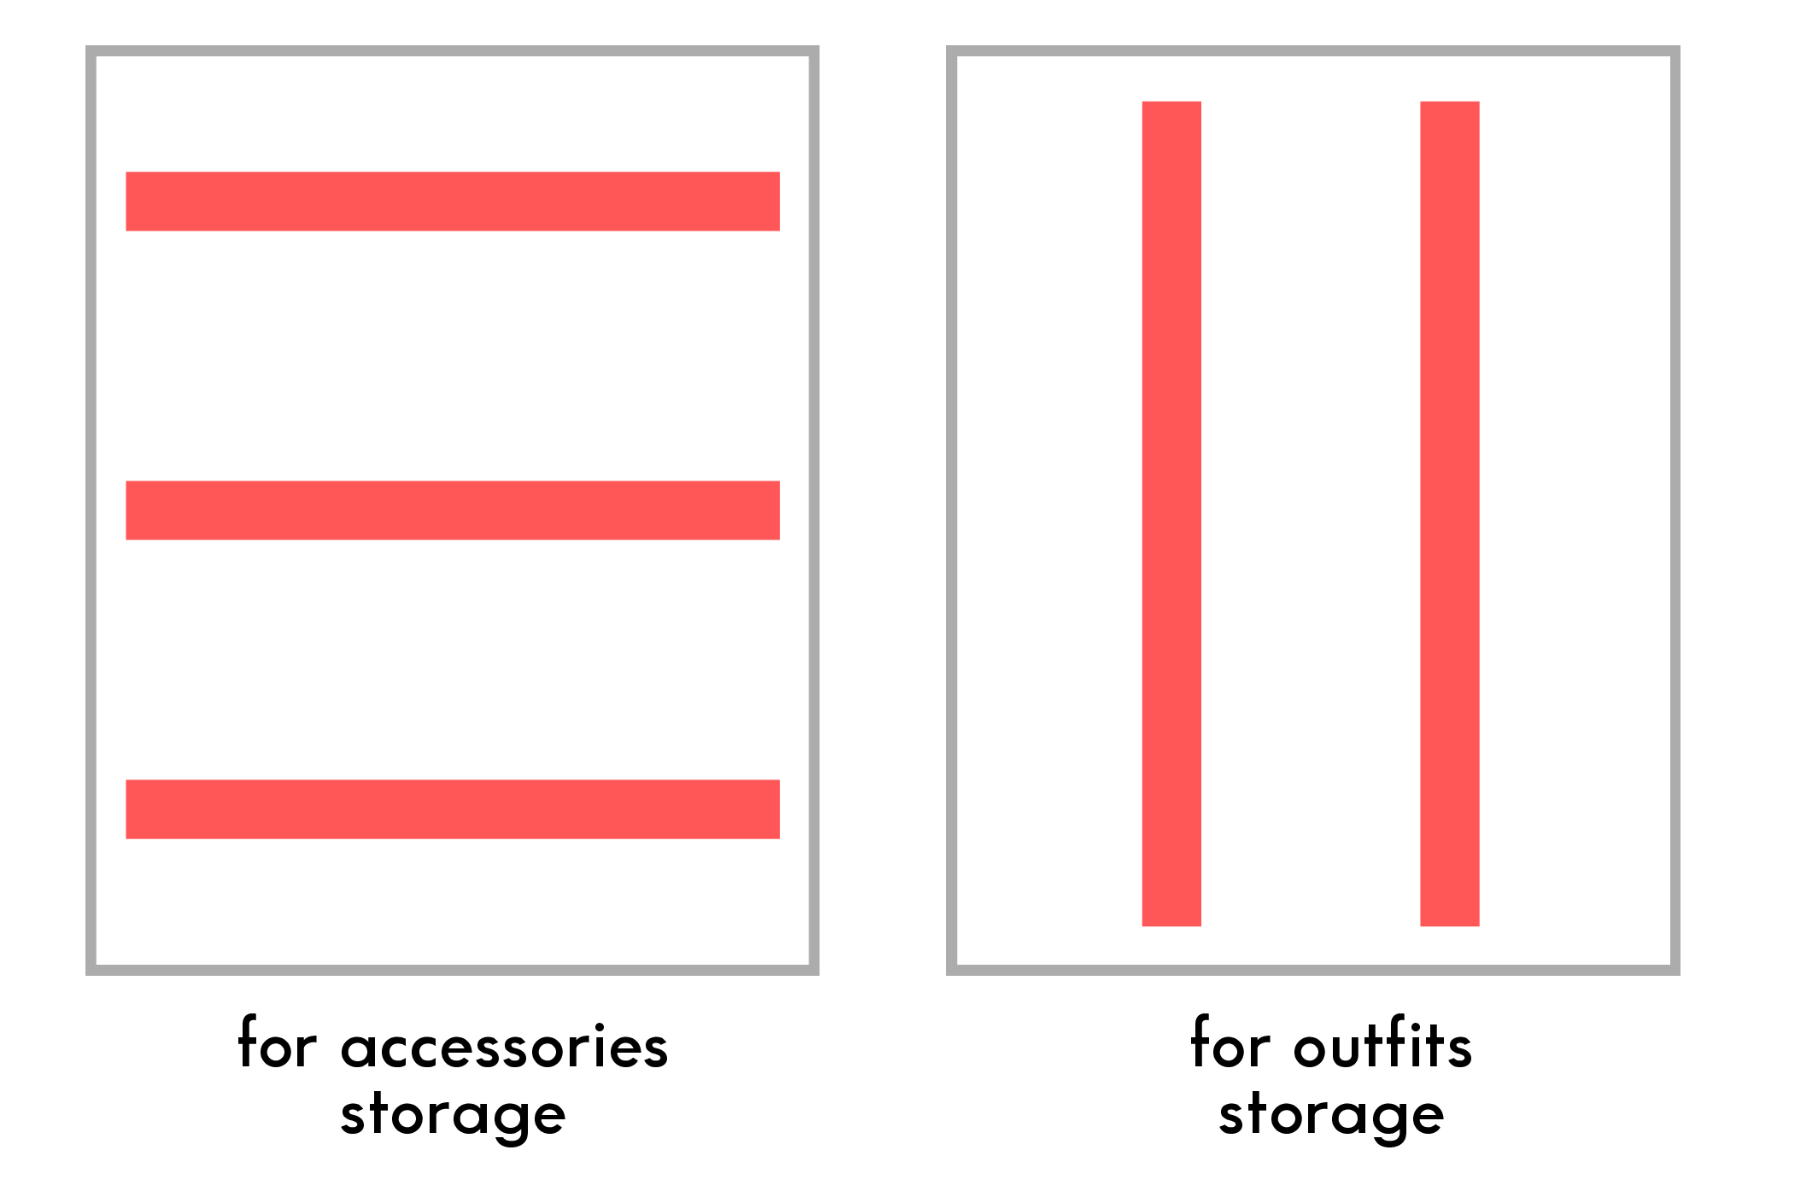
7. Laminate several sheets of plain paper (white or colored) and hole punch.
8. Place sheets in binder and place strips of velcro along the pages (see diagram).
9. Place your outfits and accessories on the velcro strips for easy storage.
10. Print your desired cover (two options included in bundle) and slip in the front of your binder.
Now you’ve got a goose on the go, ready for instant student engagement!
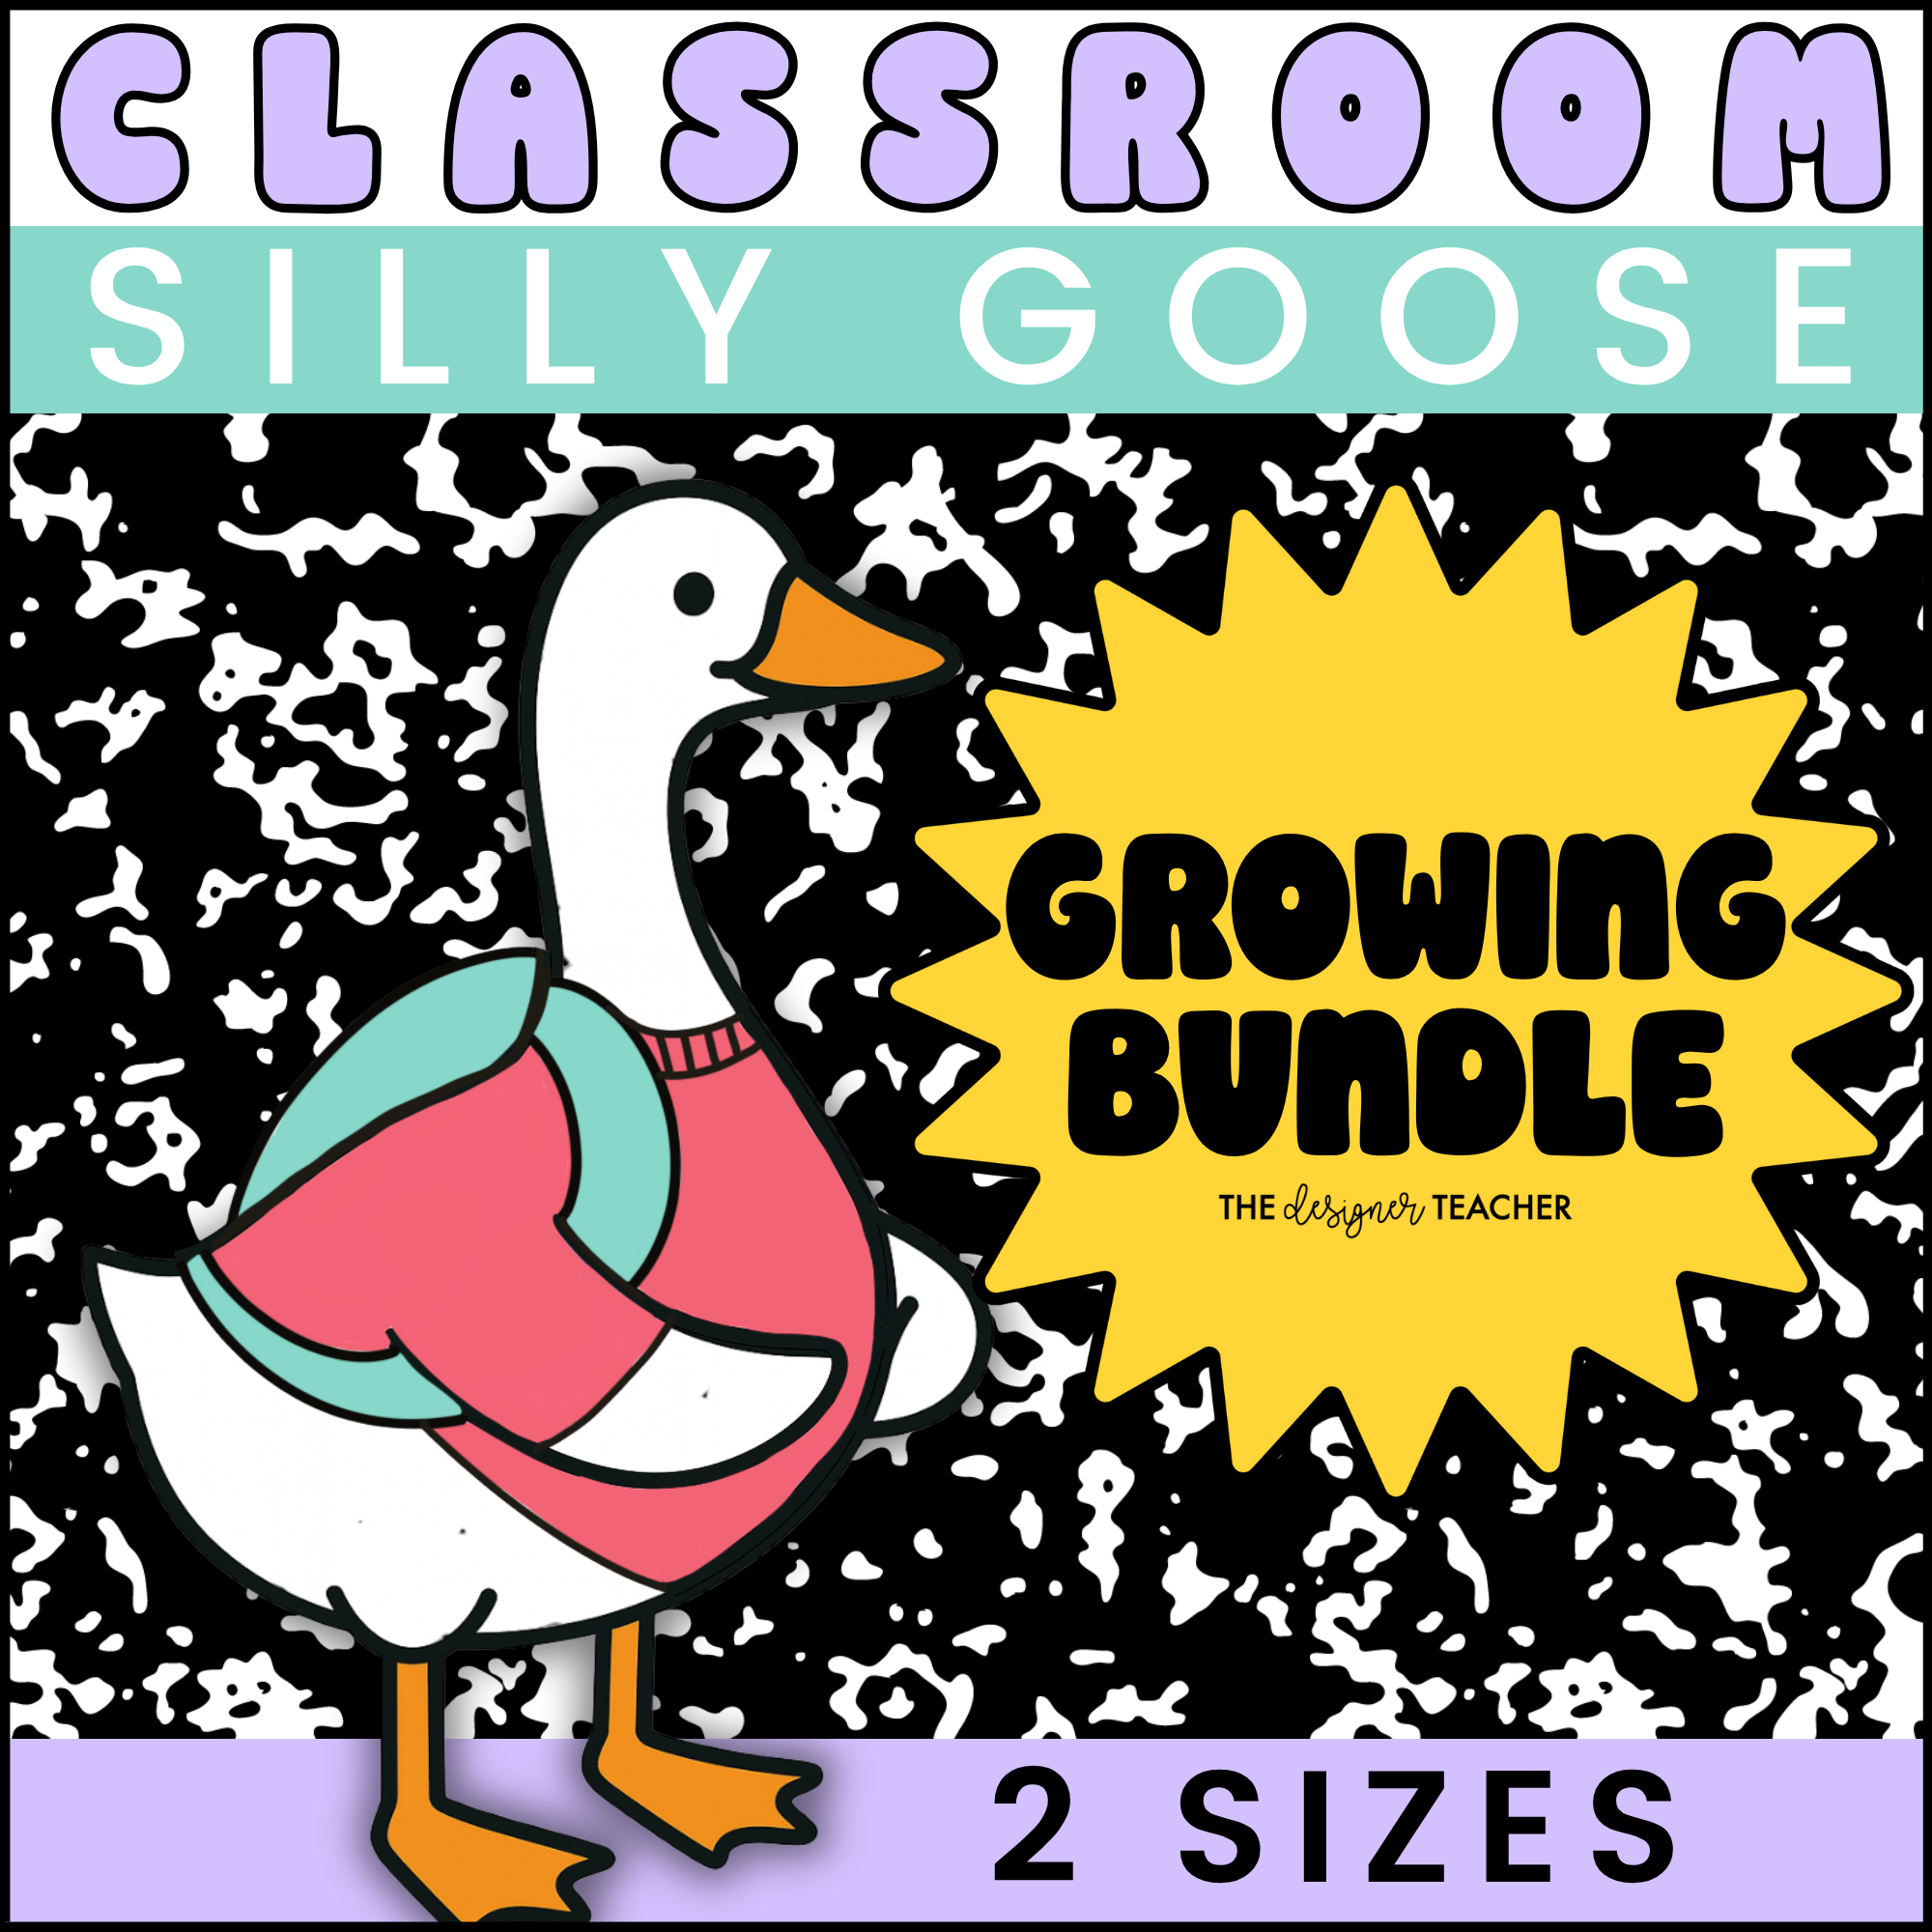
Get your goose + outfits for the whole year at a heavily discounted price!
Not ready for the bundle? Get your FREE printable goose by signing up for The Designer Teacher mailing list below.
No time to read now?